




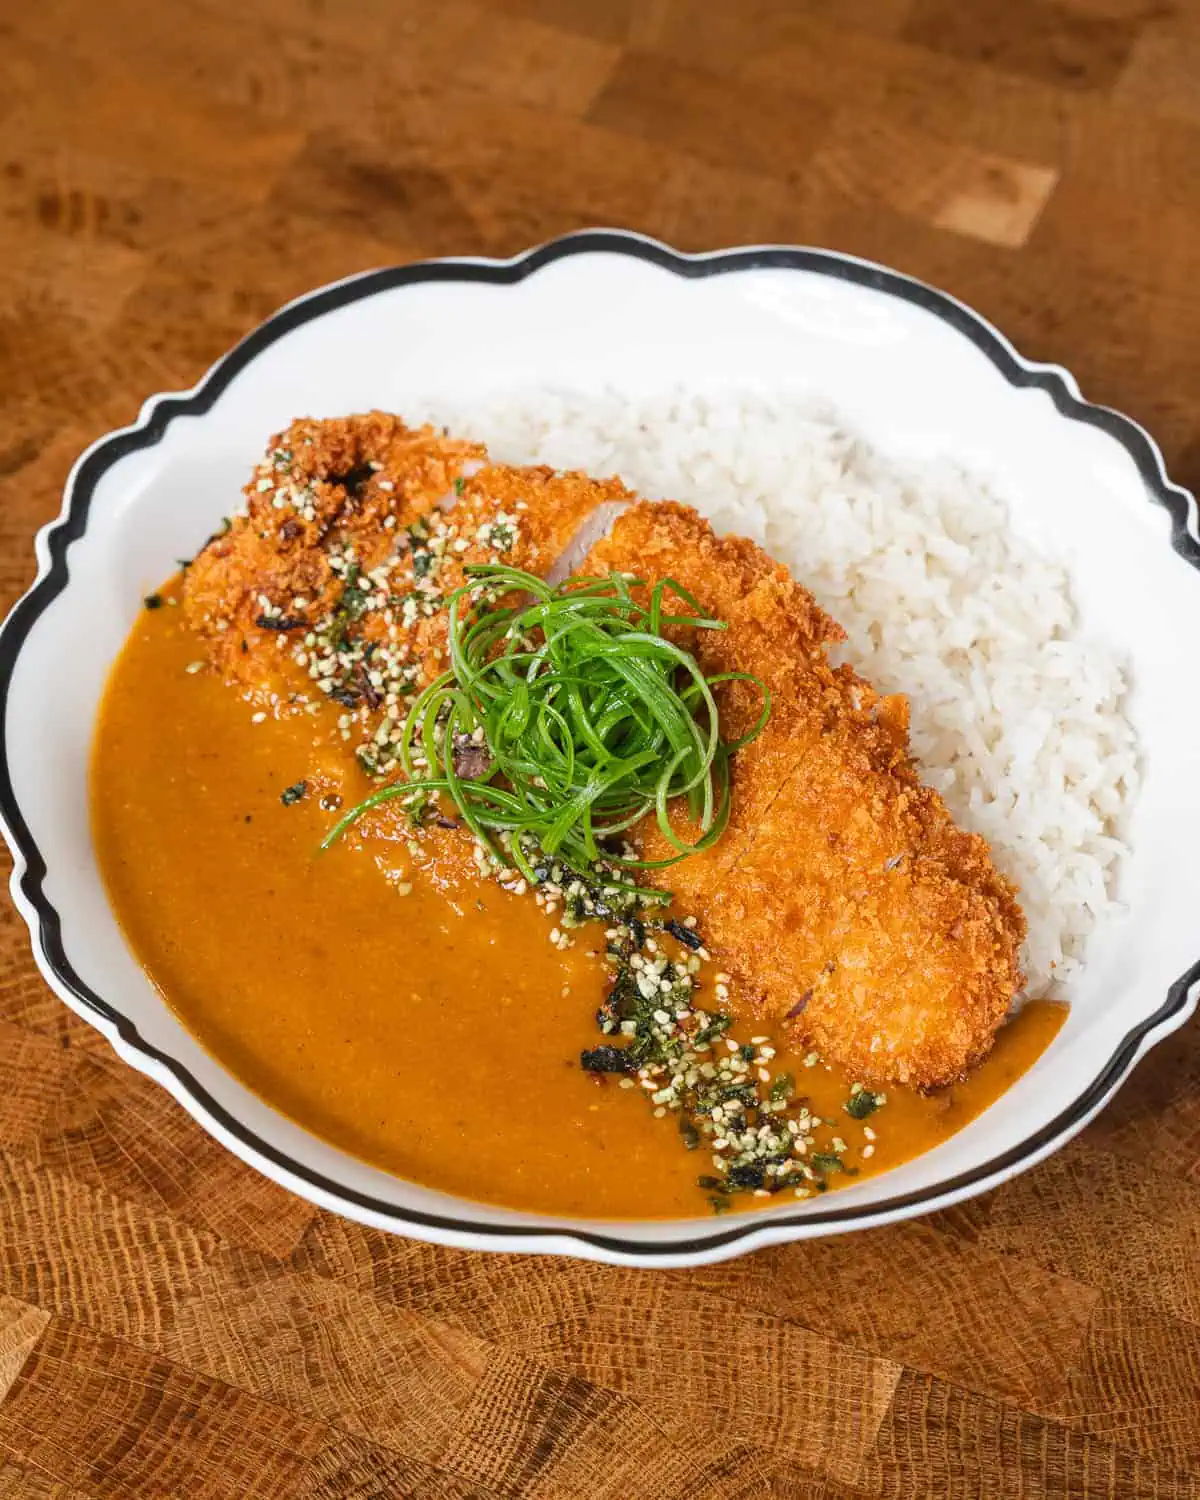
Savor crispy japanese chicken katsu curry with rich, velvety sauce comfort.
What is japanese chicken katsu curry
If you’ve ever dreamed of diving into a bowl of pure comfort, japanese chicken katsu curry is calling your name, fam. It’s that glorious combo of crispy chicken cutlet, fluffy rice, and thick curry gravy that feels like a warm hug after a long day. Trust me, once you taste that savory sweet curry over a golden brown crust, you’ll be hooked.
This classic Japanese dish is the ultimate Japanese comfort food. You’ve got panko breaded chicken sliced over short grain rice, then drenched in a rich umami sauce made from a roux curry base. It’s bold, cozy, and absolutely just right for a weeknight dinner or family meal.
Where is japanese chicken katsu curry from:
Japanese chicken katsu curry comes from Japan, rooted in the evolution of curry introduced during the Meiji era. Over time, Japan created its own signature Japanese curry—milder, thicker, slightly sweet, and deeply savory.
It became a staple dinner recipe across homes and restaurants, turning into one of the most beloved hearty curry meals in Asian cuisine recipe collections.
how to make it
You start by preparing a flavorful curry sauce using curry roux blocks, onions, grated apple, and stock. While the curry simmers into a thick rich sauce, you coat a boneless chicken breast in flour, egg, and crispy panko coating before pan frying chicken or deep frying cutlet until golden.
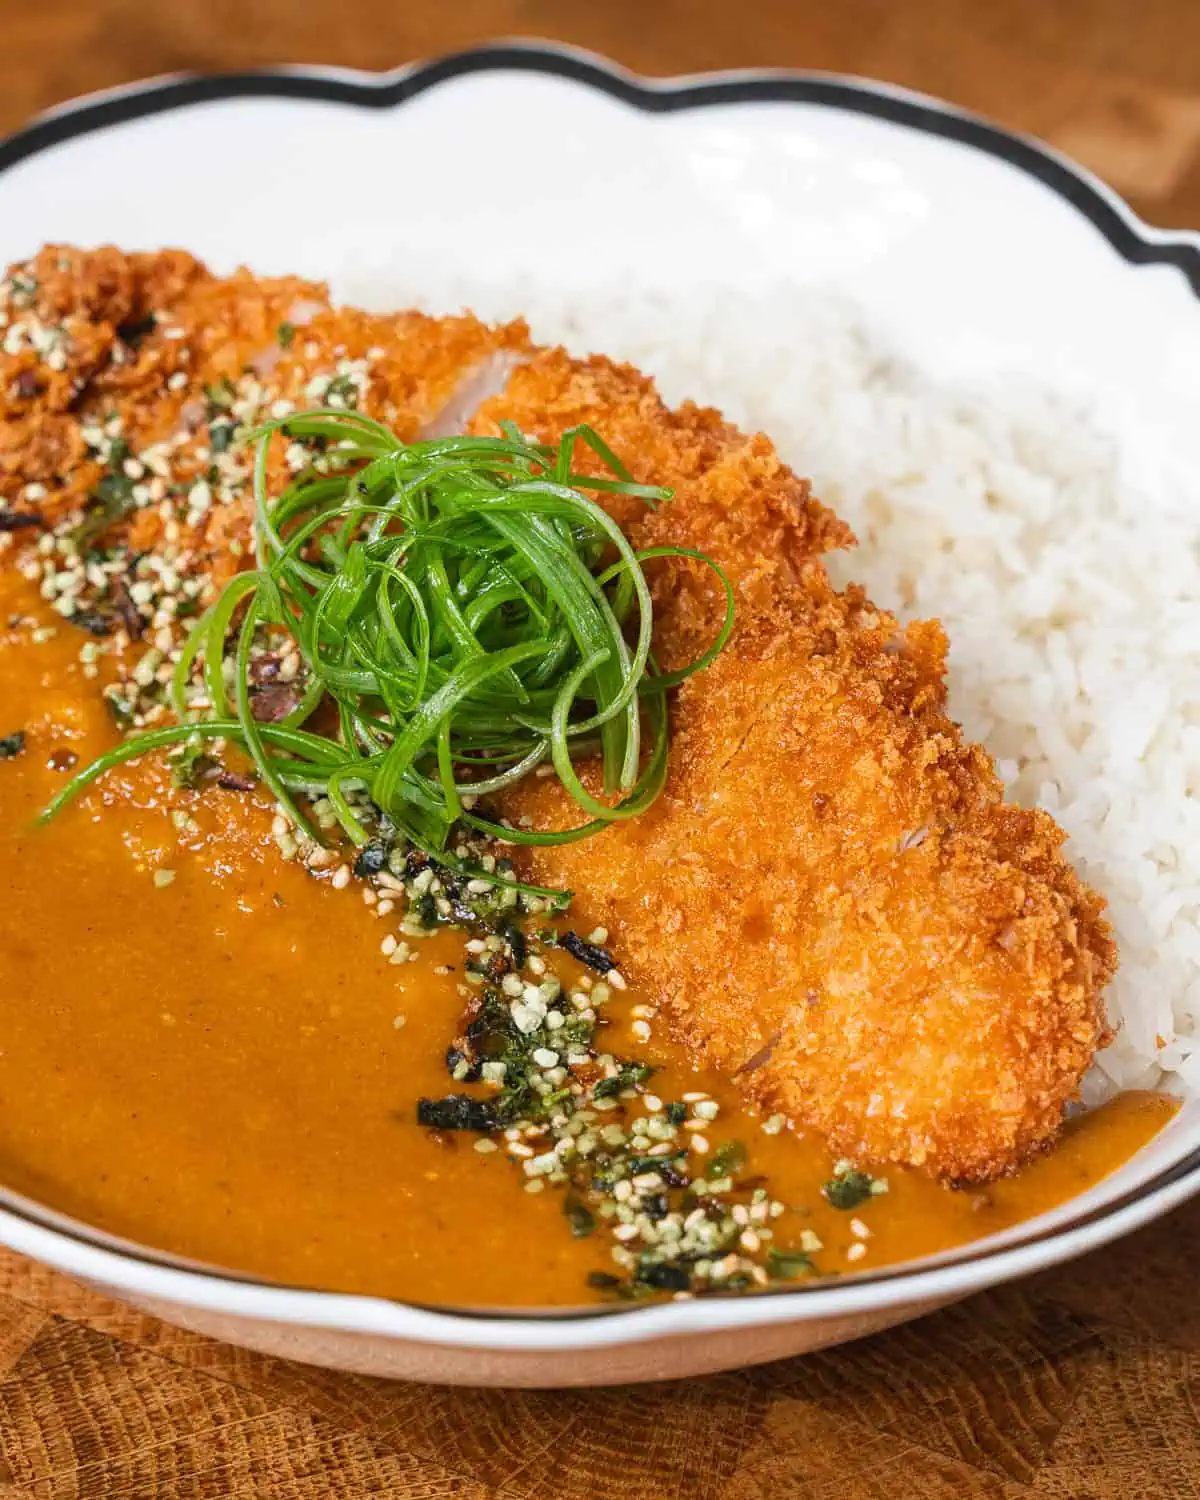
Slice, serve hot over rice and curry, spoon that savory curry flavor on top, and garnish with green onions and furikake.
Ingredients
Curry Sauce
- Japanese curry block – Forms the roux curry base and gives that signature Japanese curry flavor profile.
- Butter – Adds richness and depth to the thick curry gravy.
- Onions, julienned – Build sweetness and body for the simmered curry.
- Apple, grated – Balances savory notes with subtle sweetness for savory sweet curry magic.
- Garlic, minced – Boosts aroma and savory curry flavor.
- Tomato paste – Intensifies umami and enhances the rich umami sauce.
- Honey – Rounds out the mild curry spice with gentle sweetness.
- Unsalted chicken stock – Creates that smooth Japanese curry sauce consistency.
- Worcestershire sauce – Adds tangy depth and complexity.
- Soy sauce – Enhances the rich umami sauce backbone.
- Salt and pepper – Fine-tunes the flavor balance.
Chicken Katsu
- Chicken breasts – Lean boneless chicken breast becomes a tender chicken cutlet.
- Salt – Seasons the cutlet preparation evenly.
Wet Batter
- Eggs, beaten – Helps coating ingredients stick during the dredging process.
Dry Batter
- Flour – Creates a base layer for crispy panko coating adhesion.
- Garlic powder – Adds subtle aromatic depth.
- Onion powder – Enhances overall savory curry flavor pairing.
Panko
- Panko breadcrumbs – Forms the crispy panko coating and golden brown crust.
- Neutral oil, for frying – Essential for pan frying chicken or deep frying cutlet evenly.
Garnish
- Green onion, sliced – Adds freshness and color contrast.
- Furikake – Elevates curry meal presentation with texture and umami.
Steps
Curry Sauce
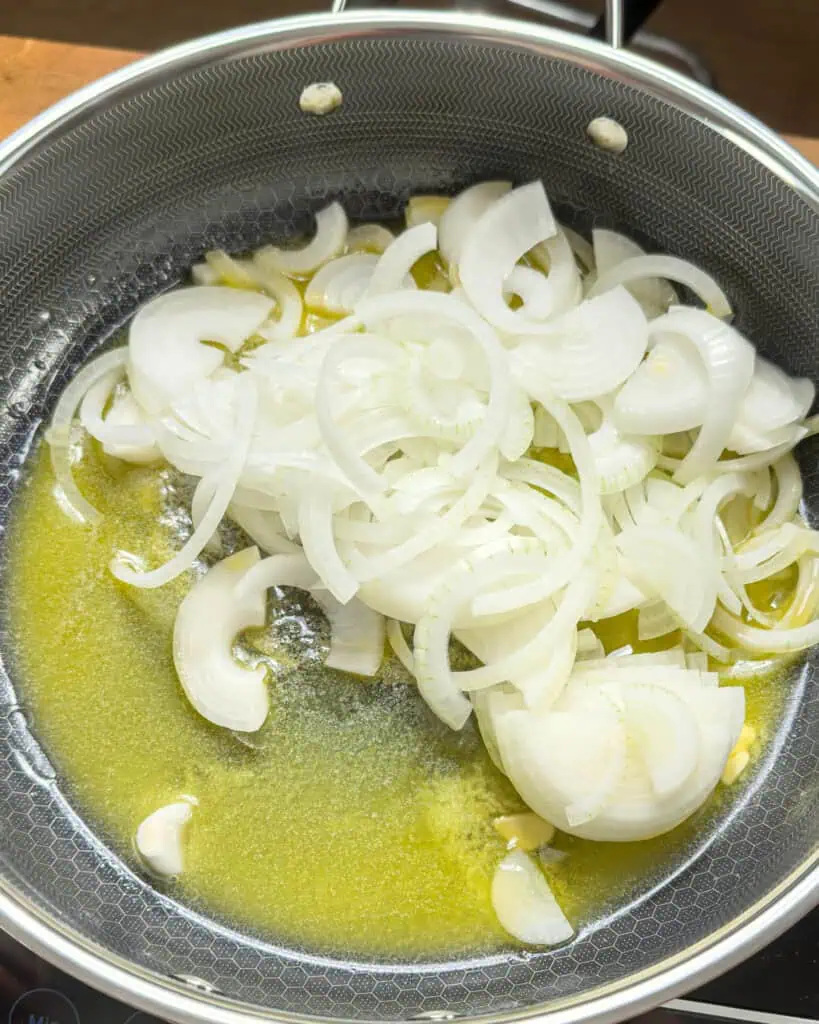
- Melt 4 tablespoon butter in a heavy-bottomed pot over medium-low heat. Add onions and cook slowly until deeply caramelized, 30–40 minutes.
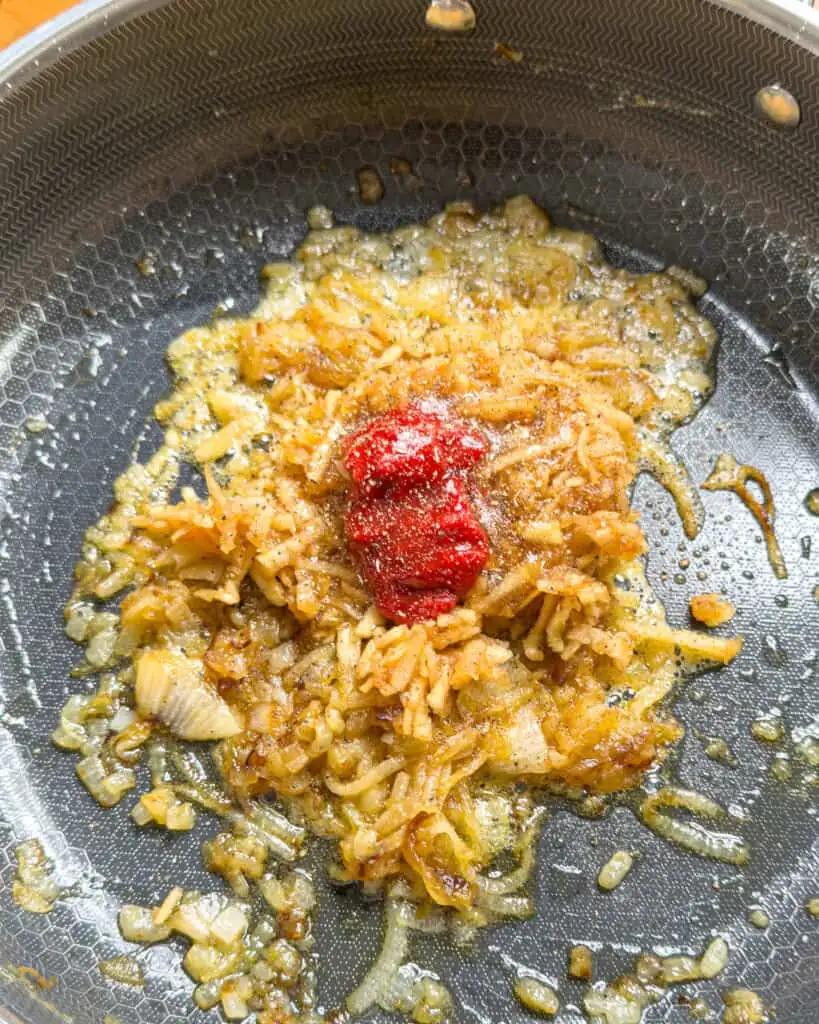
- Add apple, tomato paste and honey; cook 2–3 minutes until fragrant.
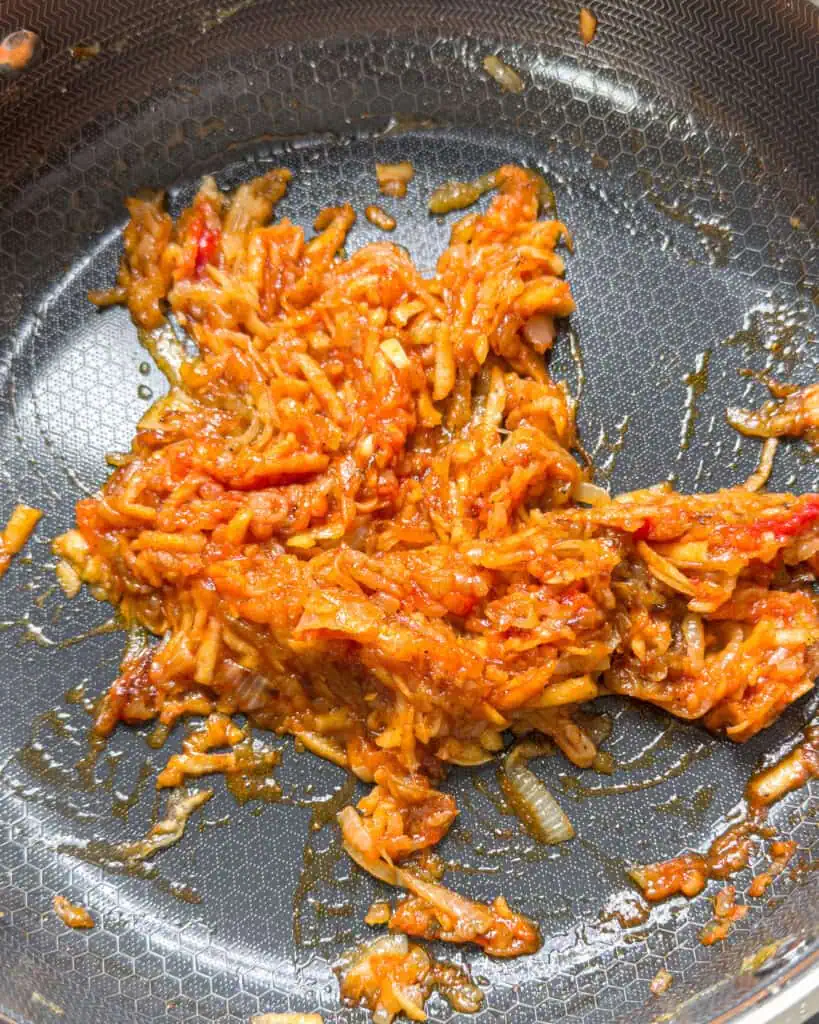
- Add garlic and chicken stock bring to a gentle simmer.
- Stir in curry blocks and simmer on low 10–12 minutes until dissolved and thickened.
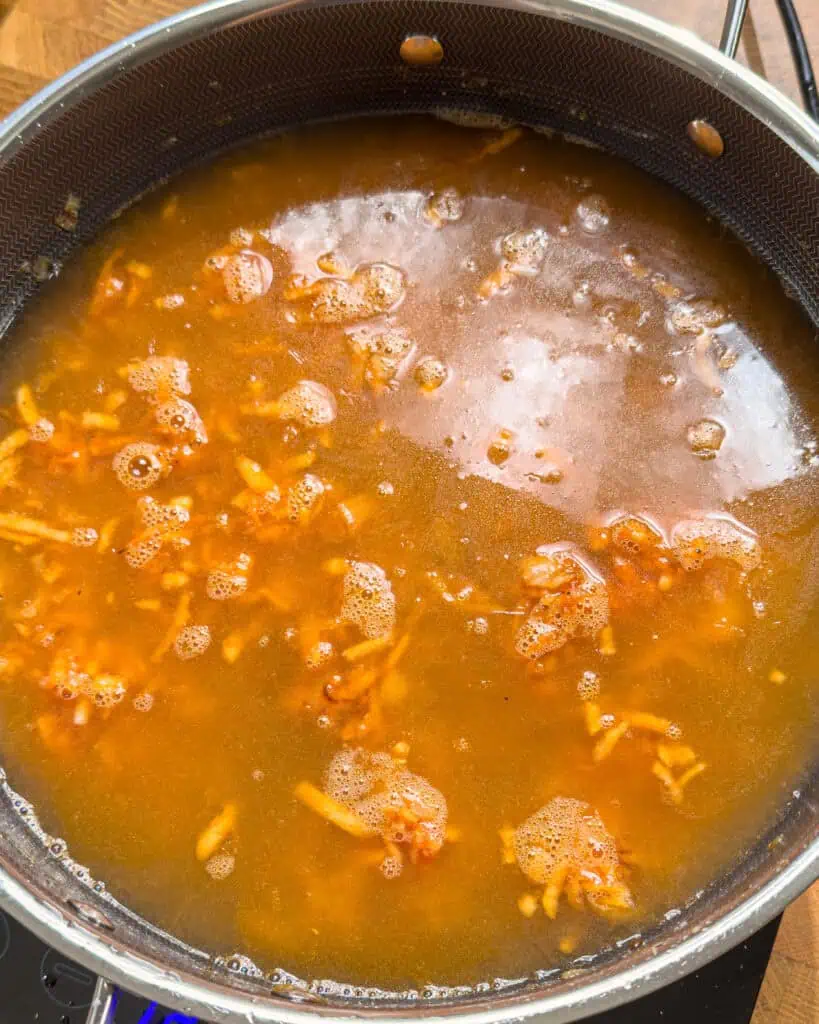

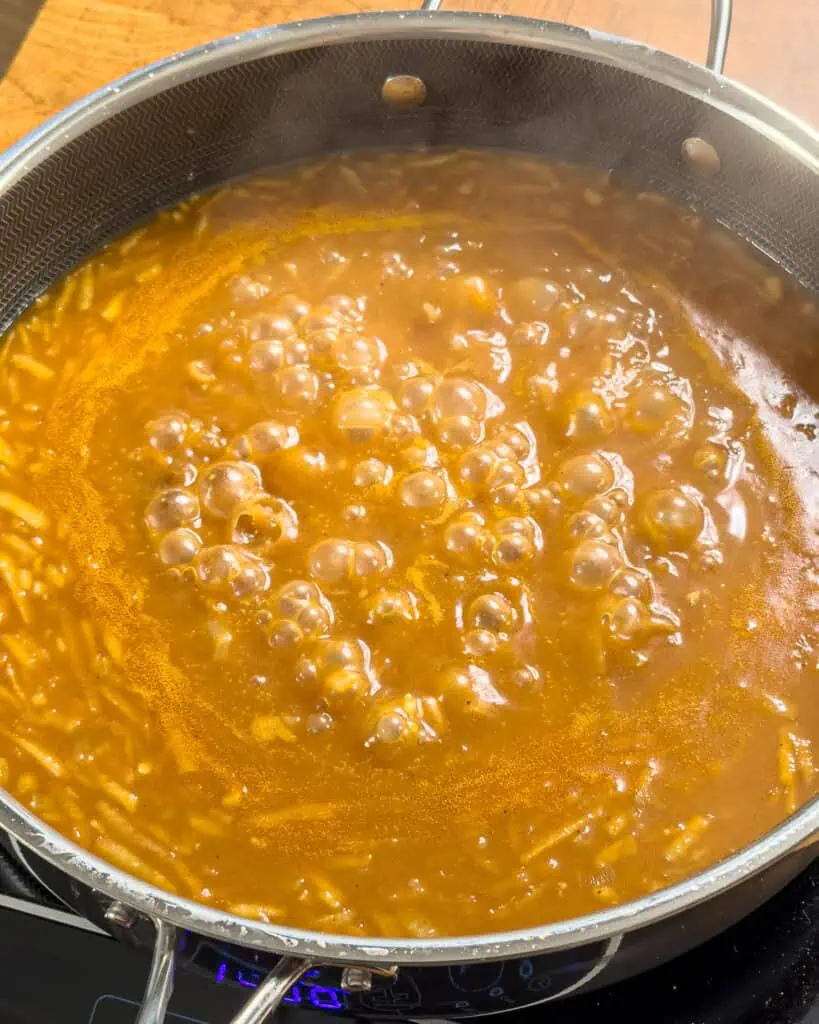
- Season with soy sauce and Worcestershire sauce.
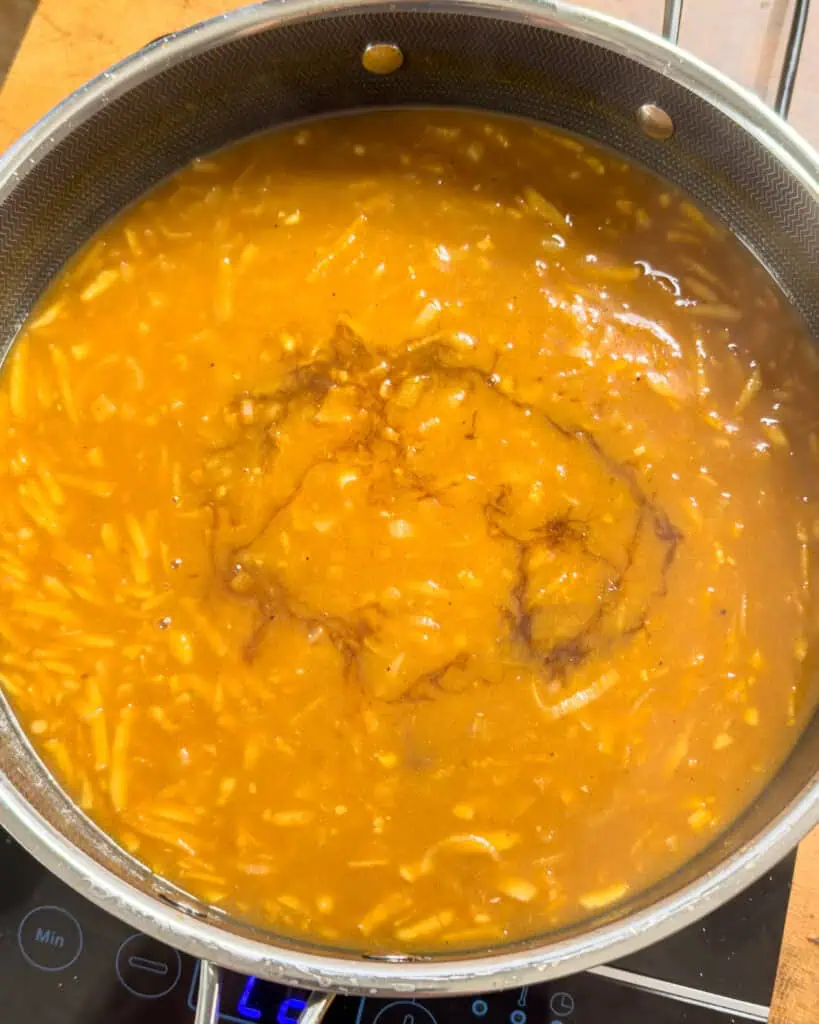
- Blend until smooth, then stir in remaining ¼ cup butter. Keep warm.
Chicken Katsu
- Pat the chicken breasts dry. Butterfly or pound to an even ½-inch thickness. Season both sides lightly with salt.
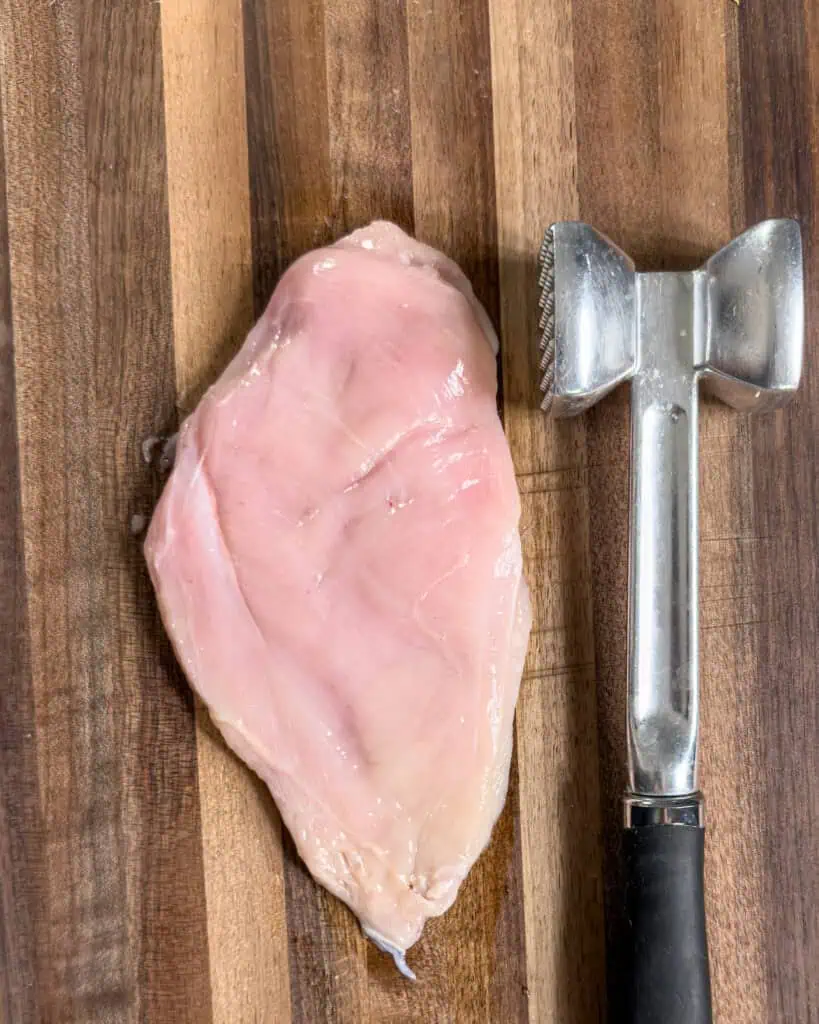
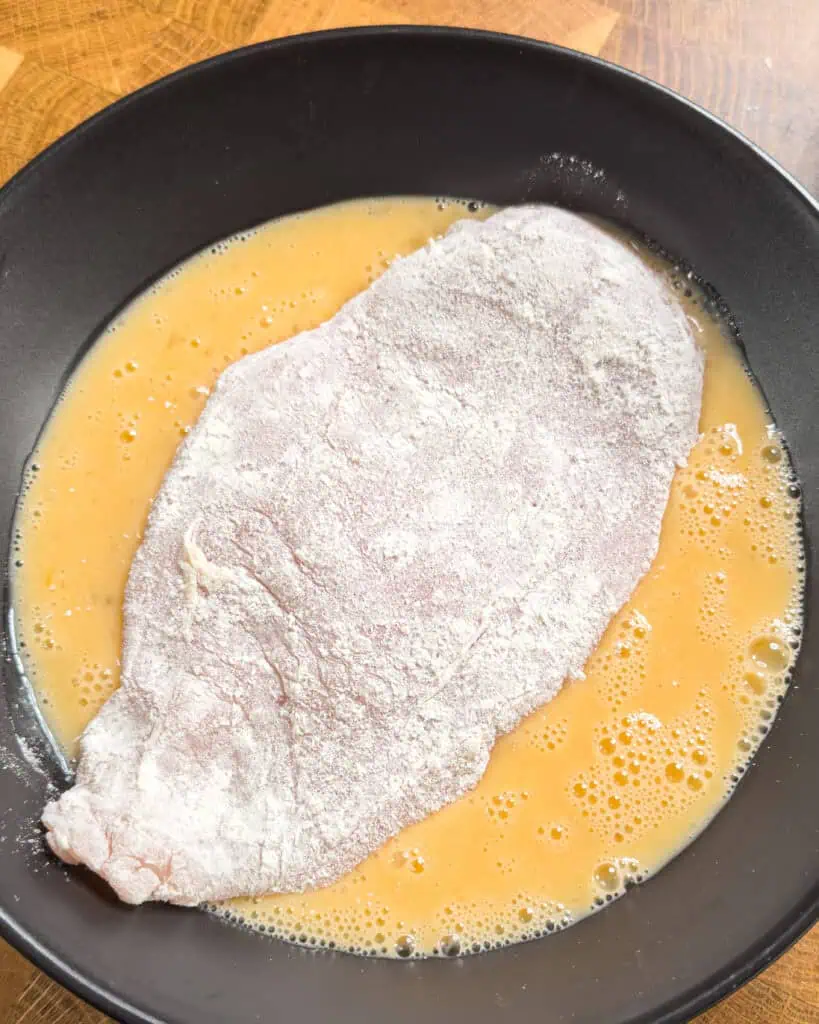
- Set up a breading station:
- Wet batter: Place the beaten eggs in a shallow bowl.
- Dry batter: In a separate shallow bowl, mix flour, garlic powder, onion powder, and a pinch of salt.
- Panko: Place panko breadcrumbs in a third shallow dish.
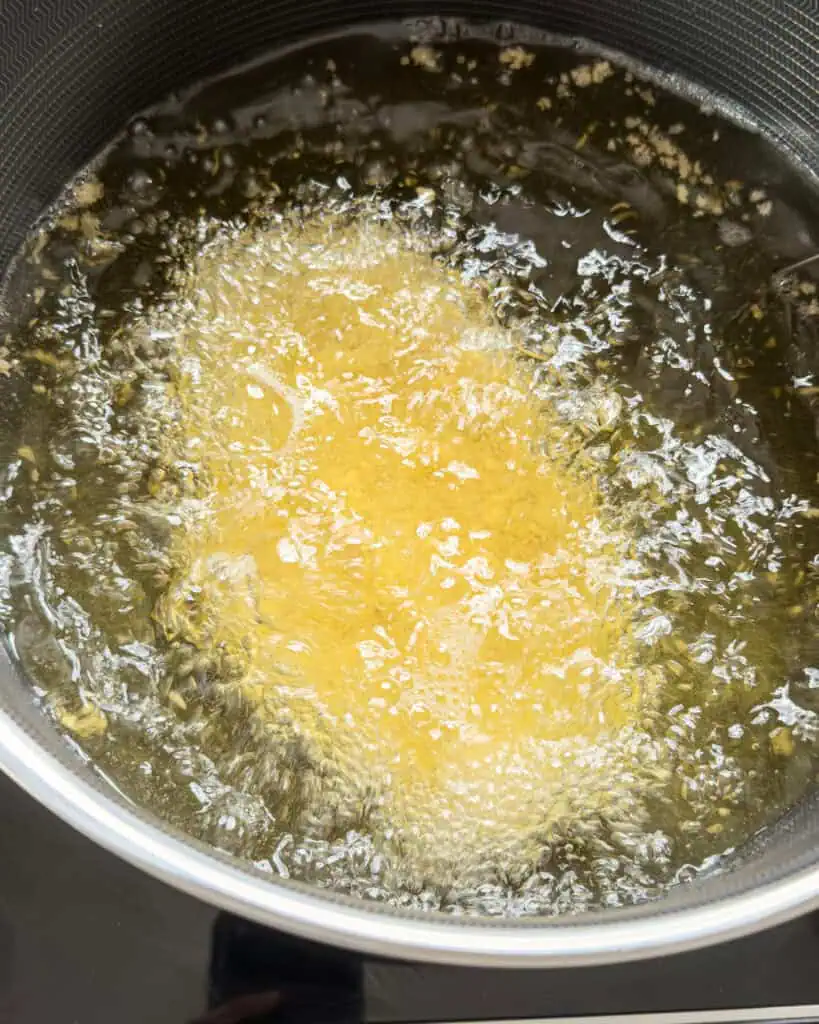
- Heat neutral oil in a skillet to 180°C / 355°F, with the oil reaching about halfway up the sides of the chicken.
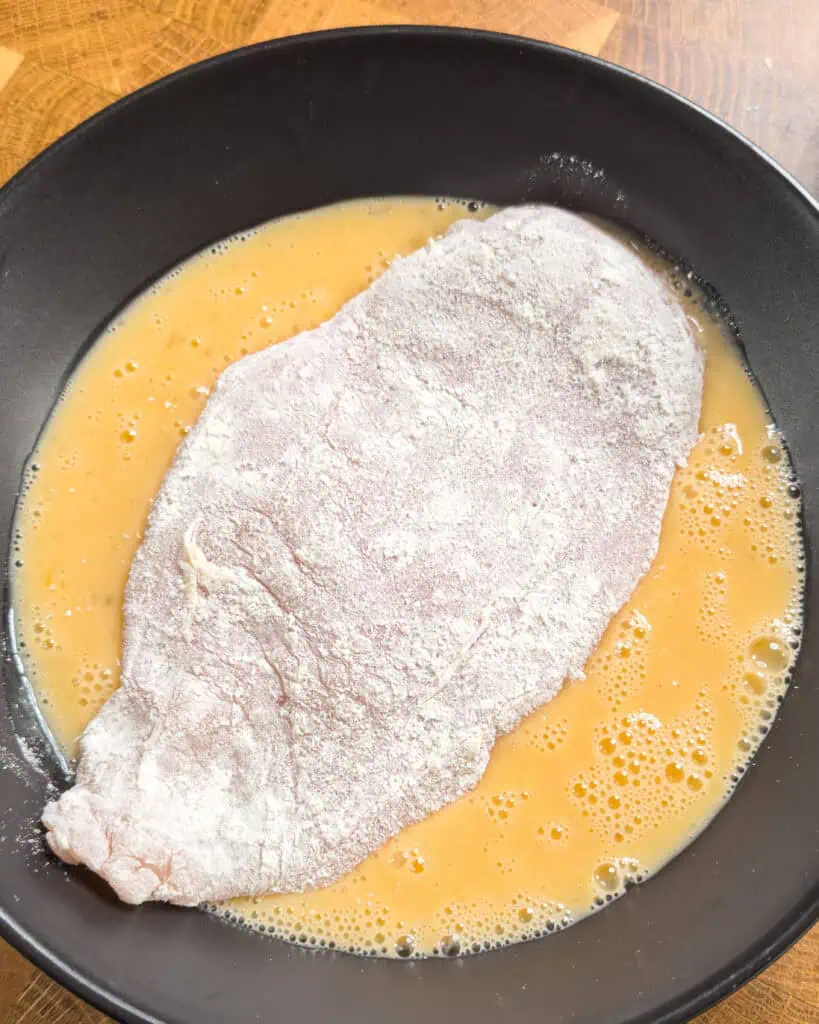
3. Dredge each chicken piece in the seasoned flour, shaking off excess.
4. Dip the floured chicken into the beaten eggs, allowing excess to drip off.
5. Press the chicken firmly into the panko, ensuring an even, well-adhered coating.
6. Fry for 3–4 minutes per side, until golden brown and the chicken is fully cooked.
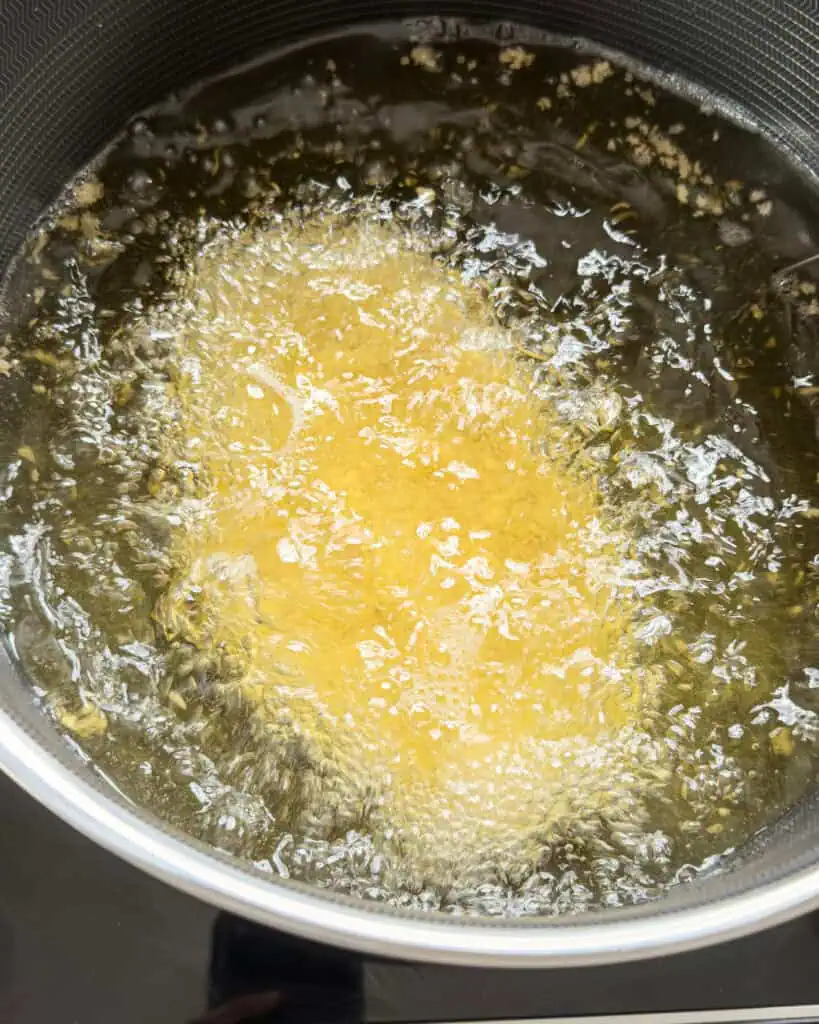
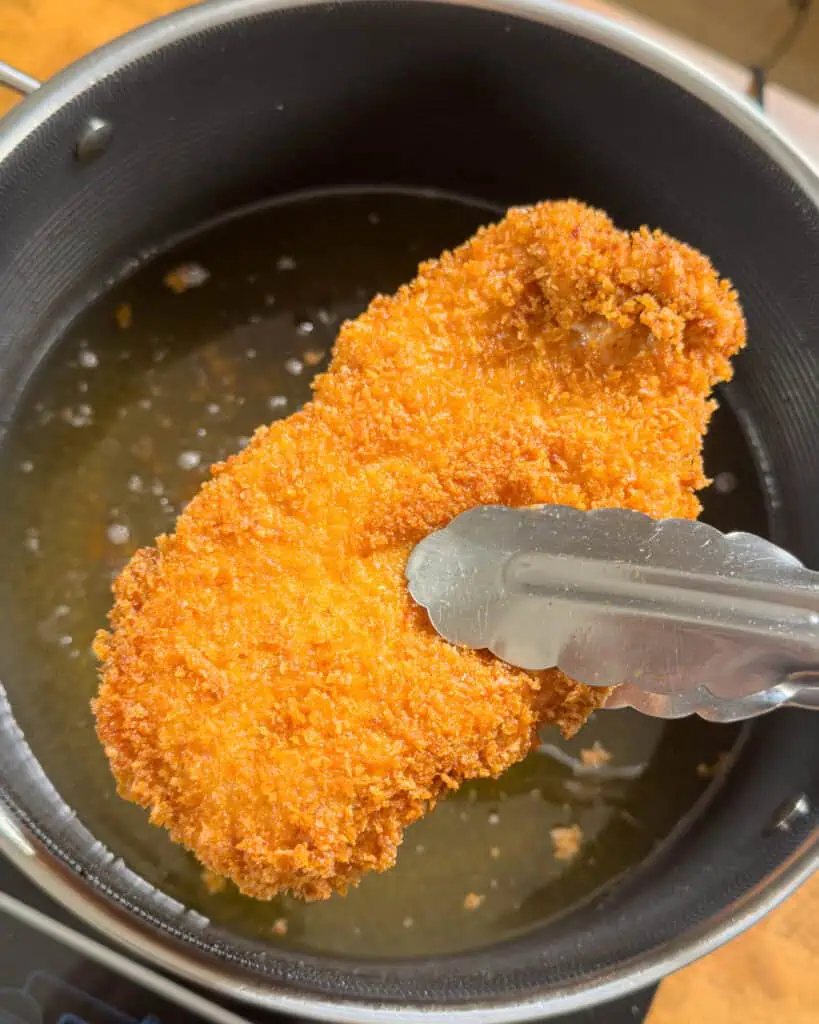
7. Transfer to a wire rack and rest for 6–8 minutes before slicing and serving.
Tips for Perfect Japanese Chicken Katsu Curry
Choosing the Right Chicken and Rice
Use boneless chicken breast if you want lean slices, but don’t sleep on the chicken thigh option if you crave juicier results. A tender chicken cutlet starts with even thickness—lightly pound it for consistent cooking technique.
Pair it with short grain rice for that iconic rice texture contrast. Fluffy but slightly sticky rice and curry together? That’s Japanese comfort food perfection.
If rice bowls are your comfort zone, you’ll love this savory-sweet Gyudon Japanese Beef Rice Bowl—another cozy classic built around tender meat and fluffy rice.
How to Get Extra-Crispy Panko Breaded Cutlets
Pat your chicken dry before the dredging process. Moisture is the enemy of a golden brown crust.
Press the panko firmly so it clings like it means it. When deep frying cutlet, keep oil around 170–180°C for that ultra crispy chicken cutlet with zero sogginess.
Making Smooth, Flavorful Curry Sauce
Sauté onion and carrot slowly in butter until soft and fragrant. This builds the base of a flavorful curry.
Let your curry roux blocks melt gradually while stirring. For perfect Japanese curry texture, simmer gently—don’t boil aggressively. Sauce thickening techniques matter here, fam.
Timing Tips — Cook Curry vs Cook Chicken
Start the curry first since simmered curry deepens in flavor. While it bubbles into thick rich sauce heaven, fry your breaded fried chicken fresh so it stays crunchy.
This way, everything finishes together and you can serve hot without compromise.
Tools That Make This Recipe Easier
- Heavy-bottom pot for curry sauce
- Thermometer for frying oil
- Wire rack for draining panko breaded chicken
- Sharp knife for slicing crispy chicken cutlet
Trust me—small kitchen tips make a big difference.
Serving Suggestions and Storage
Classic Serving Ideas (with Rice and Pickles)
Serve as a curry rice bowl with sliced chicken katsu fanned beautifully over rice and curry. Add pickled ginger or Japanese pickles for brightness.
The contrast between thick curry gravy and crispy panko coating? Absolute bliss.
Pairing with Simple Sides (vegetables, salad)
Light cabbage salad balances the hearty curry meal. Steamed vegetables in curry like carrots or potatoes in curry can be stirred into the sauce itself.
Fresh greens cut through the savory sweet curry beautifully.
How to Store Leftovers Safely
Store curry sauce separately from the crispy chicken cutlet. Refrigerate up to 3–4 days in airtight containers.
This makes it a brilliant meal prep recipe.
Best Way to Reheat Chicken and Curry Separately
Reheat curry gently on the stove with a splash of stock. Re-crisp chicken in the oven or air fryer so that golden brown crust returns to life.
Never microwave the cutlet if you want that crispy panko coating intact.
Freezing Instructions for Extra Sauce
Japanese curry sauce freezes beautifully for up to 2 months. Freeze without chicken for best results.
It’s like having homemade katsu curry on standby for a cozy curry comfort dinner.
Variations
Pork Katsu Curry Option
Swap chicken katsu for pork cutlet. Same dredging process, same cooking technique, just richer flavor.
An authentic curry variation worth trying.
Vegetarian or Vegan Katsu (eggplant or plant-based)
Thick eggplant slices or plant-based substitute proteins work beautifully. Keep the crispy panko coating and fry until golden.
Still comforting, still hearty curry meal vibes.
Spicy Japanese Chicken Katsu Curry Version
Add chili paste or adjust your curry spice blend for heat. Boost that mild curry spice into bold territory.
Spice lovers, this one’s for you.
If you’re craving a noodle bowl with serious heat and sesame depth, this rich Japanese Tan Tan Ramen brings bold spice and cozy comfort in every slurp.
Wagamama-Style Western Influence Version
Serve with extra vegetables in curry like onion and carrot ribbons. Make the curry flavor profile slightly lighter but vibrant.
Fusion magic, fam.
Gluten-Free Adaptations
Use gluten-free flour and breadcrumbs. Ensure curry roux blocks are gluten-free or make your own roux curry base.
Easy swaps, same savory curry flavor.
Common Mistakes to Avoid
Chicken Not Crispy Enough
Oil too cool? You’ll get soggy breaded fried chicken. Maintain temperature for perfect pan frying chicken.
Curry Too Thick or Too Thin
If too thick, add stock gradually. Too thin? Simmer longer for proper Japanese curry texture.
Rice Isn’t Sticky or Fluffy
Use short grain rice and rinse properly. Rice texture contrast matters in this classic Japanese dish.
Overcooking the Cutlet
Thin cutlets cook fast. Don’t let that tender chicken cutlet turn dry.
Sauce Lacks Flavor
Layer your seasonings. Soy sauce, Worcestershire, apple—this builds that rich umami sauce depth.
Frequently Asked Questions
What Is Katsu Curry?
Katsu curry is a curry rice bowl topped with crispy panko breaded chicken and covered in thick curry gravy. It’s one of Japan’s most beloved Japanese comfort food staples.
Can I Make This Ahead of Time?
Yes! Make the curry sauce ahead and fry chicken fresh. It’s perfect for weeknight dinner planning.
What Is the Best Curry Roux or Spice Blend to Use?
Traditional curry roux blocks create that signature Japanese curry taste. Look for mild curry spice if cooking for family meal settings.
Can I Bake Instead of Frying?
You can bake at high heat with oil spray, but deep frying cutlet gives superior golden brown crust.
How Long Does It Last in the Fridge?
Curry lasts 3–4 days refrigerated. Chicken is best within 2 days for maximum crispy chicken cutlet texture.
RATE MY DISH!
If you enjoy my dish make sure to leave a comment and rating down below. I highly appreciate it!
Tag me on Instagram @geniuseatss so I can see your creation! Don't forget to follow me on TikTok, Youtube, Pinterest and Facebook for more recipes and contents!
Thank you so much and enjoy my recipes!
PrintJapanese Chicken Katsu Curry

Savor crispy japanese chicken katsu curry with rich, velvety sauce comfort.
- Prep Time: 10 minutes
- Cook Time: 50 minutes
- Total Time: 1 hour
- Yield: 2 servings 1x
- Category: Chicken
- Method: Easy
- Cuisine: Japanese
Ingredients
Curry Sauce
- 1 Japanese curry block (4 pieces)
- 4 tbsp butter
- 3 onions, julienned
- 1 apple, grated
- 4 cloves garlic, minced
- 1 tbsp tomato paste
- 2 tbsp honey
- 1 L unsalted chicken stock
- 2 tbsp Worcestershire sauce
- 2 tbsp soy sauce
- Salt and pepper, to taste
Chicken Katsu
- 2 chicken breasts
- Salt, to taste
Wet batter
- 2 eggs, beaten
Dry Batter
- ¼ cup flour
- 1 tsp garlic powder
- 1 tsp onion powder
Panko
- 1 cup panko breadcrumbs
Neutral oil, for frying
Garnish
- Green onion, sliced
- Furikakke
Instructions
Curry Sauce
- Melt 4 tablespoon butter in a heavy-bottomed pot over medium-low heat. Add onions and cook slowly until deeply caramelized, 30–40 minutes.
- Add apple, tomato paste and honey; cook 2–3 minutes until fragrant.
- Add garlic and chicken stock bring to a gentle simmer.
- Stir in curry blocks and simmer on low 10–12 minutes until dissolved and thickened.
- Season with soy sauce and Worcestershire sauce.
- Blend until smooth, then stir in remaining ¼ cup butter. Keep warm.
Chicken Katsu
- Pat the chicken breasts dry. Butterfly or pound to an even ½-inch thickness. Season both sides lightly with salt.
- Set up a breading station:
- Wet batter: Place the beaten eggs in a shallow bowl.
- Dry batter: In a separate shallow bowl, mix flour, garlic powder, onion powder, and a pinch of salt.
- Panko: Place panko breadcrumbs in a third shallow dish.
- Heat neutral oil in a skillet to 180°C / 355°F, with the oil reaching about halfway up the sides of the chicken.
- Dredge each chicken piece in the seasoned flour, shaking off excess.
- Dip the floured chicken into the beaten eggs, allowing excess to drip off.
- Press the chicken firmly into the panko, ensuring an even, well-adhered coating.
- Fry for 3–4 minutes per side, until golden brown and the chicken is fully cooked.
- Transfer to a wire rack and rest for 6–8 minutes before slicing and serving.

Leave a Reply