




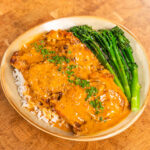


















Make crispy, juicy Honey Lemon Garlic Chicken with a sweet and tangy glaze. Perfect for a quick, flavorful weeknight dinner!
Jump to:
- Which Lemon Chicken Is This One?
- Butter, Garlic and a Whole Lemon: What Goes In
- How to Make Honey Lemon Garlic Chicken, Step by Step
- Crisp Skin Without Burning the Cornstarch
- Getting the Glaze to Thicken, and the Sauce You Will Have Left
- Serving, Storing and Reheating
- Frequently Asked Questions
- Honey Lemon Garlic Chicken (Ready In 20 Min)
Hey everyone, Genius here. Honey Lemon Garlic Chicken is two boneless, skin on chicken thighs, dusted in cornstarch and fried until the skin crackles, then dropped into a butter sauce built on garlic, soy, mirin, honey and a whole lemon. The recipe card puts it at 10 minutes of prep and 20 minutes of cooking, so half an hour from fridge to bowl, and it feeds two over rice.
There is no batter and no deep frying involved. The crust is a thin dusting of cornstarch, which is enough to crisp the skin in a shallow pan and then give the glaze something to cling to. It is one of the quickest of my chicken recipes, and most of that half hour is frying time.

Which Lemon Chicken Is This One?
There are three recipes on this site that sound almost the same, and they are not. This is the whole thigh version: skin on, pan fried, finished in a butter sauce that thickens by reducing rather than by cornstarch. You eat it sliced over rice, and the sauce is sticky rather than saucy.
- Honey Lemon Chicken: the takeout style one. Thigh cut into bites, marinated with baking soda and a quarter cup of cornstarch, stir fried with ginger and dried Chinese chilies, and the sauce is thickened with stock and a cornstarch slurry. Make that one if you want crunchy pieces in a pourable sauce.
- Soy Glazed Chicken: the closest relative to this recipe. The same two boneless skin on thighs, the same cornstarch dusting and the same pan, with soy, mirin and honey, plus ginger and sake, and no lemon or butter at all. Make that one when you want savoury rather than bright.
If what you pictured was crisp skinned thigh sliced over rice rather than battered pieces in a bowl of sauce, this is the one: two thighs, one pan, one lemon.
Butter, Garlic and a Whole Lemon: What Goes In
For the chicken
- 2 chicken thighs, boneless and skin on: the skin is the whole point, so do not buy them skinless. Thighs also hold up to the heat the skin needs without drying out.
- Salt and pepper: this is the only seasoning that gets into the meat itself, because everything else arrives later in the sauce. Season both sides.
- Cornstarch: the card gives no quantity for it on purpose. It is a dusting, not a batter, so coat the thighs and shake the excess straight back off.
- Oil, for frying: this one is missing from the ingredient list but step 2 calls for it. Any neutral oil is fine, and you only need enough to film the pan.
For the sauce
- 3 tablespoon butter: the body of the sauce. It is what makes the glaze glossy rather than watery.
- 5 cloves garlic, minced: that is a lot of garlic for two thighs and it is meant to be. It goes into the butter first and flavours everything after it.
- 2 tablespoon soy sauce: the savoury backbone, and most of the salt in the sauce.
- 2 tablespoon mirin: sweet rice wine. It rounds the soy off and stops the lemon from taking over. A splash of dry white wine stands in for it.
- 2 tablespoon honey: the sweetness and the stickiness. Any honey works, so use what you have, knowing a dark honey like buckwheat will taste stronger than a light clover one.
- 1 lemon, juiced: a whole lemon, squeezed straight into the pan. This is the acid that keeps the honey from being cloying.
- ½ tablespoon lemon zest: zest the lemon before you cut it. The zest carries the citrus smell, which the juice alone does not.
- ½ teaspoon paprika: colour and a little smokiness. It is a big part of why the finished sauce is that deep red brown.
- ½ teaspoon chili flakes: a gentle background heat at this amount. Double it if you want the sauce to actually bite.
- ½ teaspoon black pepper: goes in with the other dry spices, not just on the chicken.
To finish
- Sesame seeds: crunch and a nutty note that complements the glaze.
- Chives: chopped fine over the top, for a fresh, oniony lift against all that butter and honey.
How to Make Honey Lemon Garlic Chicken, Step by Step
- Pat the thighs dry with paper towel, then season both sides with salt and pepper. Coat them in cornstarch and shake the excess off, so you are left with a thin, even dusting rather than a powdery crust. Set them aside.
- Film a pan with oil and heat it over medium high. Lay the thighs in skin side down and fry for about 7 minutes a side, until the skin is golden and crisp. Give them room: two thighs in a crowded pan will steam instead of crisping. Lift them out and set them aside.
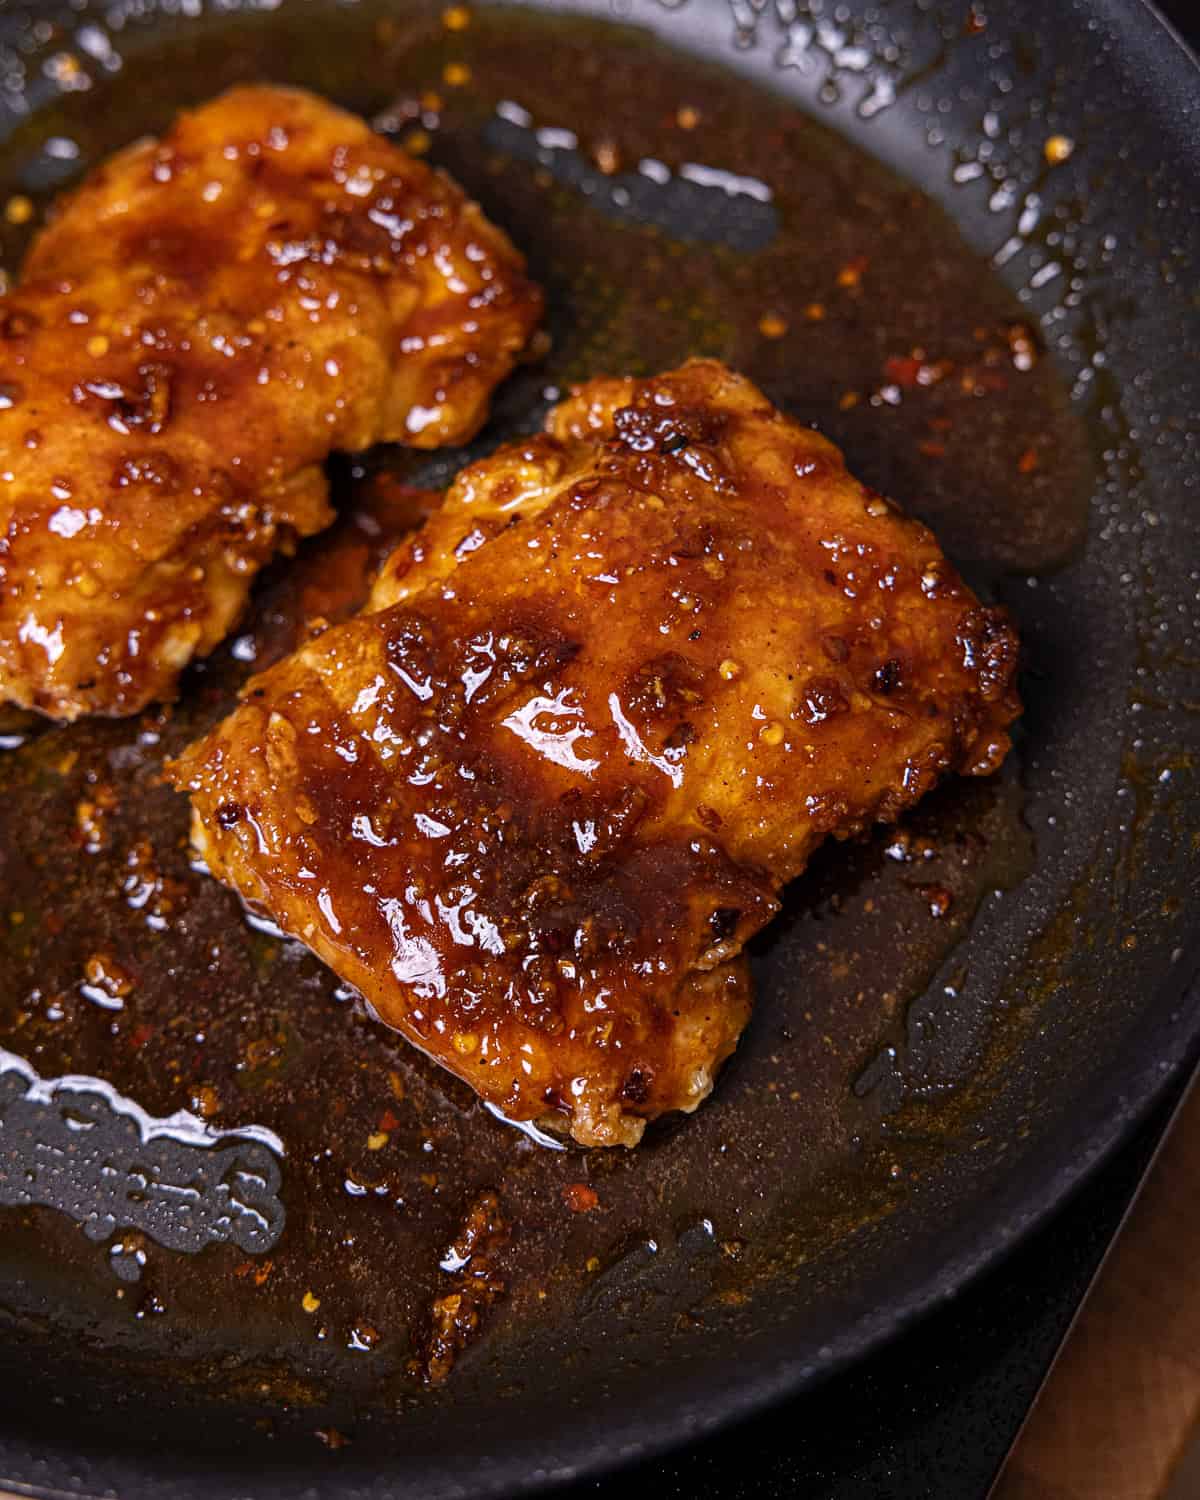
The sauce is made in a clean pan, not in the one the chicken came out of. The card says so and the photographs show it: the butter goes into an empty pan with nothing left in it.
- Melt the butter over medium heat, then add the garlic and cook it for about a minute, until it smells sweet rather than raw.


- Add the lemon juice and zest, the soy sauce, mirin and honey, and the paprika, chili flakes and black pepper. Let it bubble until it thickens into a sticky, syrupy glaze. In the pan it goes from loose and pale to dark red brown and glossy, and that change is the thing to watch for.
In the photographs the zest and the dry spices go in with the garlic, so they bloom in the butter before any liquid arrives, and the lemon is squeezed straight into the pan by hand. The card adds everything together instead. Either order gets you to the same sauce, so use whichever is less fiddly with the pan you have.


- Slide the chicken back in, skin side up, and spoon the sauce over it for a minute or two until every surface is coated.


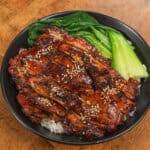
- Slice the thighs, lay them over hot steamed rice, pour the rest of the sauce over the top and finish with sesame seeds and chives.

Crisp Skin Without Burning the Cornstarch
Everything about the skin happens in step 2, before the sauce exists, and there are only four things to get right. Dry the thighs properly first, because cornstarch on damp skin turns to paste. Keep the dusting thin. Start skin side down, so the fat renders into the pan and the skin sits in it. And leave space around each thigh.
Treat the 7 minutes a side as a guide to colour rather than a timer. Cornstarch over direct heat goes from golden to dark quickly, and if your pan runs hot the skin will be ready early, so look at it. Once it has taken colour you can drop the heat to medium and let the inside catch up.
One thing worth knowing before you start: this is glazed chicken, not fried chicken. The coating is there to give the sauce something to hold on to, and once the thighs go back into the pan the skin turns sticky rather than crunchy. That is exactly what the photographs show, and it is the point of the dish.
Getting the Glaze to Thicken, and the Sauce You Will Have Left
There is no cornstarch slurry in this sauce. It thickens by reducing, so heat and time are the only levers you have. If it still looks thin when the chicken is ready, keep it bubbling for another minute before you put the thighs back in, and bear in mind it tightens again as it cools, so stop while it still pours off the spoon.
Keep it at a steady bubble rather than a hard boil. Honey scorches, and a sauce with 2 tablespoons of it in a small pan can go from glossy to bitter faster than you expect. If you want a lemon and garlic sauce that is creamy instead of sticky, that is a different recipe here: Creamy Lemon Garlic Chicken uses cream and skips the reduction entirely.
Make extra sauce. You are going to want it, and it is good on rice, on roasted vegetables, or on anything else that needs a lift.
Serving, Storing and Reheating
It is photographed sliced over plain steamed white rice, which soaks up the sauce and is the right call on a weeknight. If you want to make more of the rice, the garlic fried rice here works under it. Roasted broccoli or carrots on the side, or a light salad, balance out how rich the glaze is.
Leftovers keep about 3 days in an airtight container. Reheat the chicken in a pan rather than the microwave so the skin firms up again instead of going soft, and warm the sauce separately if it has set in the fridge. To freeze, keep the chicken and the sauce in separate containers for up to 3 months and thaw overnight in the fridge.
Frequently Asked Questions
Can I use chicken breast instead of thighs?
You can, but thighs are what this recipe is built around. They stay juicy at the heat the skin needs, and the skin is where the crisp cornstarch crust comes from. Boneless breast has no skin to crisp and dries out faster, so cut the frying time right down, take it off the heat as soon as it is cooked through, and let it sit in the sauce for a minute instead of simmering in it.
Why did my cornstarch coating go dark or taste burnt?
Two things in this recipe darken quickly: the cornstarch dusting sitting against direct heat, and the honey once it is in the pan. The card gives 7 minutes a side as a guide to colour rather than a timer, so on a hot pan the skin will be golden well before then. Drop to medium once the skin has taken colour, and keep the sauce at a steady bubble rather than a hard boil.
How do I make the sauce thicker?
There is no cornstarch slurry in this sauce, so it thickens by reducing and nothing else. Let it bubble a little longer before the chicken goes back in, and remember it keeps tightening as it cools, so stop while it still pours. Putting the chicken back into a sauce that is already syrupy is what gives you the thick glaze in the photographs.
Do I need to marinate the chicken first?
No. Nothing in this method marinates, and the card asks only for salt and pepper before the cornstarch goes on. All of the flavour arrives at the end, in the sauce. If you want to season ahead anyway, salt the thighs and leave them uncovered in the fridge, which also dries the skin out and helps it crisp.
Can I use bottled lemon juice instead of fresh?
Fresh is better here, and not only for the juice. The recipe also uses half a tablespoon of lemon zest, which you can only take off a whole lemon, and the zest carries most of the citrus smell in the finished sauce. If all you have is bottled juice, use it, but buy one lemon for the zest.
What can I use instead of mirin?
A splash of dry white wine is the swap this recipe has always given. Mirin is sweet as well as sharp, so if you go with wine or dry sherry, add a little extra honey to make up the difference. Leaving it out altogether gives a sharper sauce, because mirin is the thing sitting between the soy and the lemon.
Can I make it ahead, and how do I store leftovers?
The sauce can be made ahead and kept in an airtight container in the fridge for 3 to 4 days, then warmed through while the chicken fries fresh. Leftover chicken keeps about 3 days, also airtight. Reheat it in a pan rather than a microwave so the skin firms up again, and warm the sauce separately if it has set.
Can I freeze it?
Yes. Freeze the chicken and the sauce in separate airtight containers for up to 3 months. Thaw overnight in the fridge, reheat the chicken in a pan so the skin does not go soggy, and pour the warmed sauce over at the end.
RATE MY DISH!
If you enjoy my dish make sure to leave a comment and rating down below. I highly appreciate it!
Tag me on Instagram @geniuseatss so I can see your creation! Don't forget to follow me on TikTok, Youtube, Pinterest and Facebook for more recipes and contents!
Thank you so much and enjoy my recipes!
PrintHoney Lemon Garlic Chicken (Ready In 20 Min)

Make crispy, juicy Honey Lemon Garlic Chicken with a sweet and tangy glaze. Perfect for a quick, flavorful weeknight dinner!
- Prep Time: 10 minutes
- Cook Time: 20 minutes
- Total Time: 30 minutes
- Yield: 2 Servings 1x
- Category: Chicken
- Method: Easy
- Cuisine: Asian
Ingredients
Marinate your chicken
- 2 chicken thigh, skin on and boneless
- Salt and pepper, to season
- Cornstarch
For The Sauce
- 3 tbsp of butter
- 5 cloves of garlic, minced
- 2 tbsp of soy sauce
- 2 tbsp of mirin
- 2 tbsp of honey
- 1 lemon juice
- ½ tbsp of lemon zest
- ½ tsp of paprika
- ½ tsp of chili flakes
- ½ tsp of black pepper
Garnish
- Sesame seeds
- Chives
Instructions
- Season the chicken thigh with salt and pepper. Coat the chicken with cornstarch and shake off excess. Set aside
- In a pan, heat the oil over medium-high heat. Add the chicken skin side down and fry each side for 7 minutes or until golden brown. Set aside.
- In a pan, heat the butter over medium heat. Once it is melted, saute the garlic until fragrant for 1 minute.
- Add in soy sauce, mirin, honey, lemon juice, lemon zest, paprika, chili flakes and black pepper. Cook the sauce until it thickens.
- Then, add the chicken back to the pan and baste the chicken with the sauce.
- Once it is done, serve with hot steamed rice, garnish and enjoy!
Want more? Browse every chicken recipe in one place.



zoritoler imol
Hey there! I know this is somewhat off topic but I was wondering which blog platform are you using for this site? I'm getting tired of WordPress because I've had problems with hackers and I'm looking at options for another platform. I would be fantastic if you could point me in the direction of a good platform.
Molly
I can tell that the ingredients in the method this is going to be a very tasty dish and it’s easy like you say. I tried to follow you on Facebook, but there was wasn’t a symbol for that. As soon as I cook this, I’ll let you know how it turned.
I’m hoping you have a real good regular lemon sauce for regular lemon chicken. Light color sauce.
Manny
Great .....but I dont use the corn starch. I know it makes it crispier........but it also burns especailly on the skin side if you cook it for the required time.?
Ella
Very impressed with this dish! My husband loved it, he even finished his rice (he doesn’t like rice lol) because of the sauce! Sweet, spicy, garlicky — what more can you ask for! And the best part is that it’s quick and easy to make! I even made it with drumstick fillets and no mirin and it still tasted bangin’!!! Thank you, Genio and thank you Instagram (I searched for chicken dinners and this came up on my algo) ???
Alba
Top BEST FREE PORN VIDEOS sites deliver high-quality explicit content safely.
Opt for trusted sources for a discreet experience.
Brendan
Thinking about it, I’ve realized how the
landscape of digital betting is massively changed recently.
Most platforms nowadays tend to zero in extremely heavily
upon visual flashiness rather than genuine gameplay.
It is rather frustrating when one simply aims to have a quick round avoiding massive buffer times.
Still, one spotted a few reliable advice about play jonny casino no deposit bonus which really guided me balance the budget slightly better.
This makes the whole experience feel much more clear and
straightforward. I’ve additionally found how reward bonuses have become becoming
much more important than those starting funding matches.
Is it merely me, perhaps do everyone reckon the risk in modern games is
becoming slightly too aggressive lately? I would really like
to learn how everyone else vet an unfamiliar platform before actually committing some real
cash into it!
Terri Parreira
Hello I love this recipe . How do I convert it to the ninja foodi?